Contents
- Quick answer
- What are swirl marks and micro-scratches?
- What causes swirl marks in the first place?
- Can swirl marks be removed by hand?
- Why does swirl mark removal require machine polishing?
- Why every car requires a different polishing approach
- How do professional detailers inspect paint before removing swirl marks?
- Can removing swirl marks damage paint?
- How long does professional swirl mark removal take?
- Detailer Insight
- Why preparation matters before polishing
- Common mistakes that cause swirl marks to come back
- DIY polishing vs professional paint correction
- How paint correction prepares your car for long-term protection
- Why Washdoctors only allows accredited technicians to perform paint correction
- Frequently asked questions about removing swirl marks and micro-scratches
- Author: Will Mapstone
Removing swirl marks properly requires machine polishing and real paint correction experience. The process involves levelling the vehicle’s clear coat, which is typically only 30–50 microns thick. Done correctly it restores deep gloss. Done incorrectly it can permanently damage the paint.
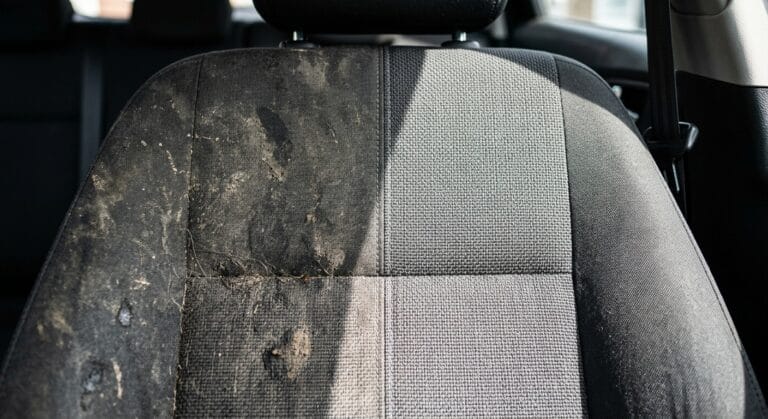
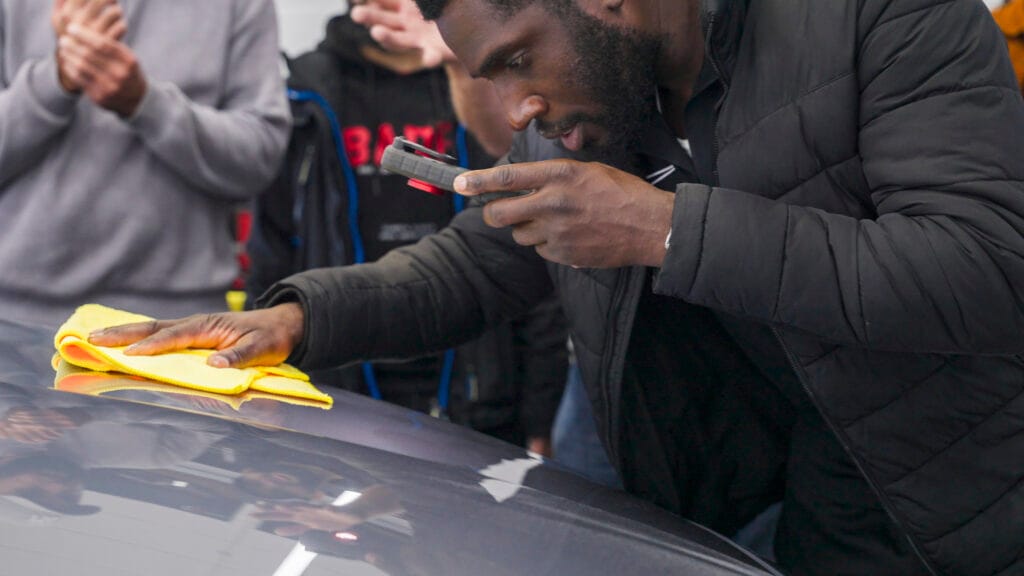
Swirl marks are one of the most common paint defects detailers see. Most vehicles that arrive for correction have accumulated years of micro-scratches from poor washing techniques, automated car washes, or rushed quick valets. Removing them safely requires careful preparation, the right equipment, and an understanding of how different paints behave during polishing.
What are swirl marks and micro-scratches?
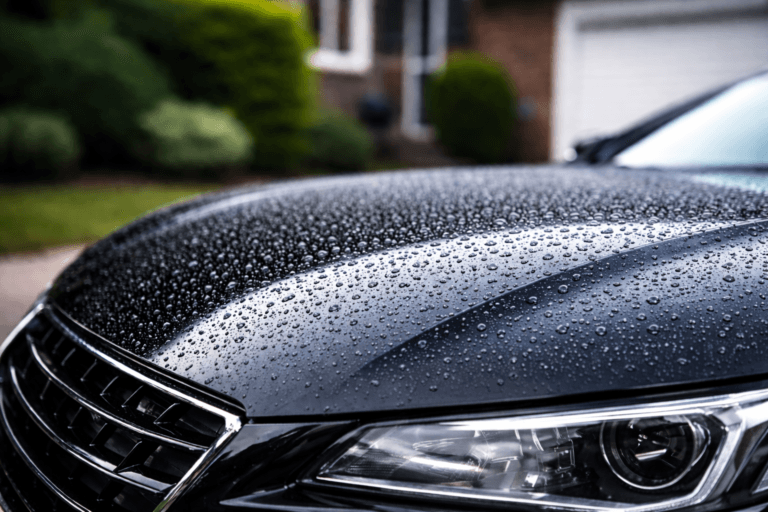
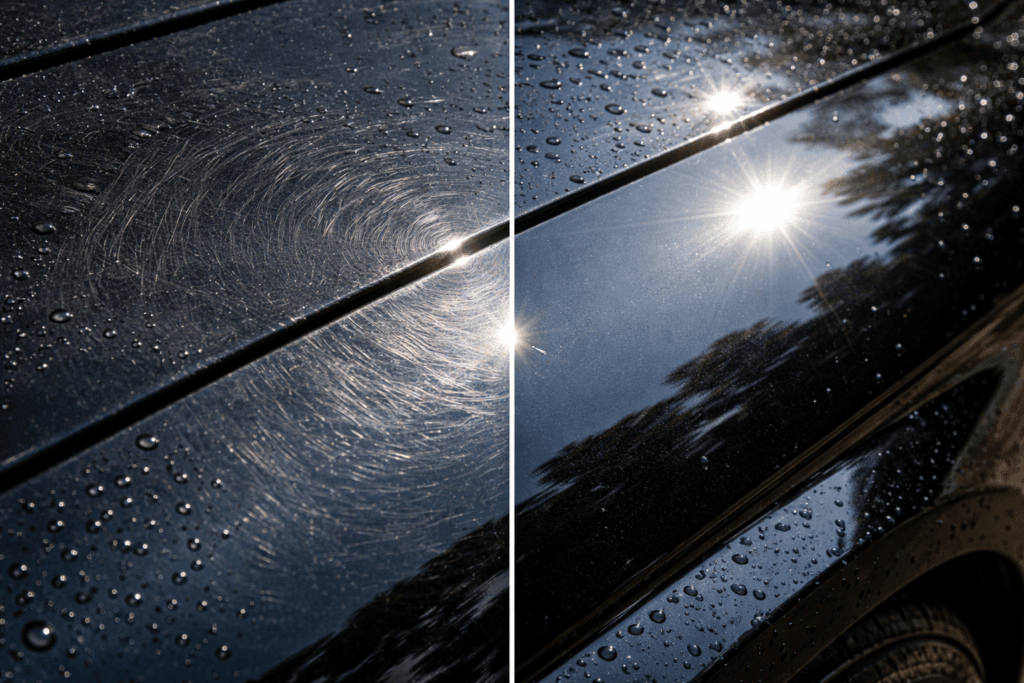
Swirl marks and micro-scratches are fine scratches in a vehicle’s clear coat that scatter light across the paint surface. They appear as circular or spider-web patterns under sunlight or strong lighting and reduce the clarity and gloss of the finish.
Despite the name, swirl marks are rarely deep scratches. They are usually thousands of microscopic abrasions across the clear coat caused by dirt being dragged across the paint during washing or drying.
These defects become most visible when:
- sunlight hits the paint at an angle
- the car is parked under bright LED lighting
- darker colours like black, navy, or deep red are involved
Under these conditions the paint behaves like a mirror. Even very small scratches distort the reflection.
That is why a car can look clean in shade but heavily marked in direct sunlight.
What causes swirl marks in the first place?
Most swirl marks are caused during washing rather than driving. When dirt particles are dragged across the paint surface they act like sandpaper and create microscopic scratches in the clear coat.
The most common causes include:
Cheap roadside hand car washes
Many £5–£10 roadside hand car washes reuse the same sponge across dozens of vehicles.
That sponge quickly becomes contaminated with:
- road grit
- brake dust
- sand
- salt
Once that contamination is in the sponge, every wipe across the paint creates micro-scratches.
Speed is also a problem. A wash that takes five minutes simply cannot remove contamination safely.
Automatic brush car washes
Brush-based automated car washes are one of the biggest causes of swirl marks.
The rotating brushes contact hundreds of vehicles per day. Dirt trapped in those brushes is repeatedly dragged across paintwork.
This is why cars that regularly use automated washes often develop heavy circular swirl patterns.
Incorrect home washing techniques
Many swirl marks come from well-intentioned DIY washing.
Common mistakes include:
- using a single bucket
- reusing dirty wash mitts
- drying the car with household towels
- wiping dust off dry paint
Even a single grain of sand trapped in a towel can scratch clear coat.
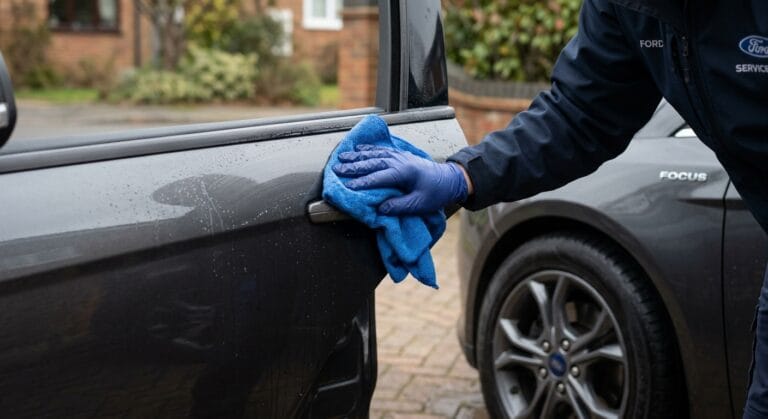
Professional detailers minimise this risk by using:
- two-bucket wash systems
- grit guards
- dedicated wash mitts
- soft microfibre drying towels
“Swirl marks are almost always caused by poor washing rather than driving. When dirt gets dragged across the paint it acts like sandpaper, leaving thousands of tiny scratches in the clear coat.”
Will Mapstone, Founder and CEO of Washdoctors
Can swirl marks be removed by hand?
Hand polishing can improve the appearance of swirl marks but rarely removes them properly. Correcting swirl marks requires evenly levelling the clear coat, which is difficult to achieve without machine polishing.
Most hand polishing uses mild finishing polish applied with a foam applicator pad.
This may:
- slightly improve gloss
- hide very light defects
- temporarily mask swirl marks
However deeper micro-scratches usually remain because hand polishing cannot apply consistent pressure or movement across the paint.
Many consumer products also contain fillers and polishing oils designed to hide defects temporarily.
After a few washes those fillers disappear and the swirl marks return.
True paint correction removes defects permanently by carefully levelling the clear coat rather than masking the damage.
Why does swirl mark removal require machine polishing?
Machine polishing removes swirl marks by carefully levelling the clear coat using controlled abrasion. Dual-action or rotary polishing machines allow detailers to remove defects evenly while maintaining safe control over pressure, speed, and heat.
Proper paint correction involves several elements.
Polishing machines
Detailers use either:
- dual-action polishers
- rotary polishers
- or sometimes both
Dual-action machines oscillate and rotate simultaneously, spreading heat and pressure safely across the paint.
Polishing pads
Pads attach to the polishing machine and come in different materials and densities.
Examples include:
- cutting pads
- polishing pads
- finishing pads
- wool pads
Each pad behaves differently depending on the paint system being corrected.
Cutting compounds
Polishing compounds contain microscopic abrasives that gradually level the clear coat.
This process is essentially controlled micro-abrasion, similar to extremely fine sanding.
Multi-stage polishing
Most professional paint correction requires multiple stages.
Typical process:
- Cutting stage – removes defects
- Polishing stage – refines the paint
- Finishing stage – restores clarity and gloss
Trying to remove all defects in one aggressive stage often leaves holograms or haze.
Why every car requires a different polishing approach
Every vehicle has a different paint system, meaning the polishing process must be adjusted for each car. Differences in paint hardness and clear coat thickness can dramatically change how difficult swirl marks are to remove.
Several variables affect the correction process.
Paint hardness
Different manufacturers use different paint formulations.
For example:
- many Japanese cars use softer paints
- German manufacturers often use harder paints
- ceramic-clear paints can be extremely difficult to correct
A well-known example is the Mercedes S-Class with ceramic clear coat, which many detailers consider one of the hardest paints to polish. Removing swirl marks from this type of paint can take two to three times longer than standard paint systems.
Clear coat thickness
The clear coat is the protective lacquer applied over the colour layer.
Manufacturers apply different thicknesses depending on production costs and quality standards. Luxury brands often use significantly thicker paint systems than mass-produced vehicles.
Because polishing removes a microscopic layer of clear coat, understanding paint thickness is essential.
Machine speed settings
Professional polishers typically have multiple speed settings.
Higher speeds increase cutting power but generate more heat. Lower speeds allow finer finishing work.
Polishing pad composition
Pads vary widely in composition and behaviour.
Some are thick foam. Some are dense foam. Some are wool.
Each changes how aggressively the compound cuts the paint.
Compound properties
Compounds vary in:
- abrasive strength
- viscosity
- heat tolerance
- working time
Choosing the wrong compound can make the correction ineffective or create additional scratches.
Because all these variables interact, every vehicle requires a slightly different polishing strategy.
How do professional detailers inspect paint before removing swirl marks?
Professional detailers inspect paint using specialist lighting and paint depth gauges before performing any correction work. This allows them to identify defects, measure clear coat thickness, and determine the safest polishing approach.
Inspection lighting reveals defects that are invisible under normal daylight.
Under high-intensity detailing lights swirl marks, holograms, and deeper scratches become obvious.
Paint depth gauges are also used to measure paint thickness across each panel. This helps identify:
- previously repainted panels
- thin clear coat areas
- previous polishing work
Most professional detailers also perform a test spot on one small area of the vehicle.
This allows them to determine:
- which compound works best
- which pad combination removes defects safely
- how many polishing stages are required
Only once this process is complete does full paint correction begin.
Can removing swirl marks damage paint?
Swirl mark removal can damage paint if performed incorrectly because polishing removes a small amount of clear coat. Aggressive techniques, excessive heat, or incorrect compounds can permanently damage the finish.
Common risks include:
Clear coat burn-through
Burn-through occurs when too much clear coat is removed.
This can happen when:
- aggressive compounds are used on soft paint
- excessive pressure is applied
- the machine is held in one place for too long
Once clear coat is removed the panel usually requires repainting.
Holograms
Holograms are uniform polishing marks left behind by incorrect technique.
They appear as wavy patterns across the paint and are most visible in direct sunlight.
Micro-marring
Using aggressive compounds without proper refining stages can create thousands of tiny scratches known as micro-marring.
Professional paint correction prevents these problems through careful technique and staged polishing.
How long does professional swirl mark removal take?
Professional swirl mark removal typically takes 4–10 hours depending on the size of the vehicle and the condition of the paint. Proper paint correction involves preparation, inspection, multiple polishing stages, and protection.
Typical stages include:
Preparation
- pre-wash and snow foam
- contact wash
- iron fallout removal
- tar removal
- clay bar treatment
Inspection
Paint is inspected under strong lighting and measured with paint depth gauges.
Machine polishing
Multiple polishing stages are performed panel by panel.
Protection
After correction, protection such as sealant or ceramic coating is applied.
If a service claims to remove swirl marks in under an hour, the paint is almost certainly being filled rather than properly corrected.
Detailer Insight
“If someone says they can remove swirl marks in under an hour, they’re almost certainly hiding the scratches rather than removing them.
Proper paint correction takes several hours because you’re carefully levelling the clear coat. Skip the preparation or rush the polishing and you risk damaging the paint permanently.”
Will Mapstone, Founder and CEO of Washdoctors
Why preparation matters before polishing
Polishing contaminated paint can create additional scratches rather than removing them. Professional detailers remove embedded contamination before machine polishing begins.
Typical preparation includes:
- citrus pre-wash
- snow foam
- iron fallout remover
- tar removal
- clay bar treatment
These steps remove particles that washing alone cannot remove.
Without proper preparation the polishing pad can drag contaminants across the paint and cause further scratching.
Preparation also allows the detailer to accurately assess the paint before correction begins.
Common mistakes that cause swirl marks to come back
Swirl marks often return quickly when paint correction is done incorrectly or when poor washing habits continue afterwards. In many cases the scratches were never truly removed, they were simply hidden with fillers.
Professional detailers regularly see the same issues.
Skipping paint decontamination
Polishing paint that still contains embedded contamination can create more scratches.
Trying to correct paint in one aggressive step
Proper correction usually involves multiple polishing stages. Skipping these stages can leave holograms or dull reflections.
Using filler-heavy polishes
Some polishes hide swirl marks temporarily using oils. Once the vehicle is washed the defects return.
Continuing damaging washing habits
Even after correction, swirl marks can return if the car is washed using:
- automated brush car washes
- cheap roadside washes
- rough towels or sponges
Proper washing techniques dramatically slow the return of swirl marks.
DIY polishing vs professional paint correction
| Factor | DIY Polishing | Professional Paint Correction |
|---|---|---|
| Equipment | Basic hand polish or entry-level machine | Professional dual-action or rotary polishers |
| Skill required | Low to moderate | High level of detailing experience |
| Time required | 1–2 hours | 4–10 hours depending on vehicle |
| Risk level | Moderate risk of damage | Controlled with correct techniques |
| Result longevity | Often temporary | Permanent defect removal |
| Finish quality | Slight improvement | Deep gloss and corrected paint |
DIY polishing can improve appearance slightly, but professional correction removes defects properly and safely.
How paint correction prepares your car for long-term protection
Professional paint correction does more than remove swirl marks. It prepares the paint surface for protective coatings that preserve the finish.
Corrected paintwork allows protection products to bond properly.
Common protection options include:
- paint sealants
- ceramic coatings
- graphene coatings
These coatings:
- increase gloss
- repel water and dirt
- slow the formation of new swirl marks
Vehicles with visible swirl marks often benefit from professional correction before applying long-term protection such as Ceramic Coating Service.
If your paint already shows visible defects, a professional Paint Correction Service can restore clarity and prepare the surface properly.
Washdoctors technicians provide these services across the UK through a fully mobile service.
Why Washdoctors only allows accredited technicians to perform paint correction
Because paint correction can permanently damage a vehicle if performed incorrectly, Washdoctors only allows Gold-accredited technicians to perform machine polishing services.
Our accreditation process includes:
- a two-day in-person paint correction training course
- practical machine polishing instruction
- supervised real-world detailing work
- mentoring from experienced head detailers
Technicians must demonstrate real-world competence before performing paint correction services independently.
Washdoctors also standardises the equipment used by technicians.
Approved:
- polishing machines
- pad combinations
- cutting compounds
This reduces unnecessary variables while still allowing technicians to adapt to different paint systems.
Our technicians also have access to an in-house detailing support team for guidance when encountering difficult paint correction jobs.
This approach allows Washdoctors to maintain consistent quality across mobile detailing services nationwide.
Frequently asked questions about removing swirl marks and micro-scratches
- Do I need to provide parking?
- Do swirl marks come back?
- Do automatic car washes cause swirl marks?
- Can ceramic coating hide swirl marks?
- Are swirl marks worse on black cars?
- Is swirl mark removal permanent?
Author
Will Mapstone
Founder & CEO, Washdoctors
Will Mapstone specialises in professional mobile detailing, paint correction, and ceramic coating services across the UK. His washdoctors team regularly restore paintwork damaged by incorrect washing techniques and poor machine polishing.